Game Two
Rabbit's Notes
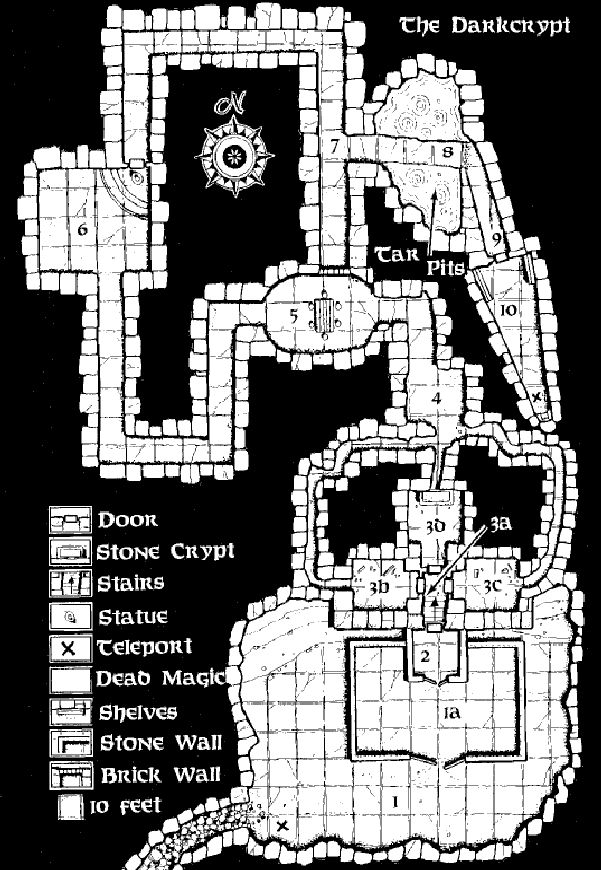
We move forward into a heavily trapped path deeper in the crypt. A kobold sorceress gives us trouble, firing rays at us from cover. She leads us on a chase through the heavily trapped warrens, ending at boiling tar pit with a probably trapped bridge. Exchange skirmish with she and archers as Tomatin tries to disable the bridge. Rabbit attempts to jump the bridge, but fails, triggering a sliding trap into the tar pit, which almost finishes him and his dog off. Gnarfl successfully leaps the bridge and pulls out dog and Rabbit both. Rabbit and Gnarfl push the remaining kobolds - a skirmisher, the sorceress, and her bodyguard - down a cave to a large stone door. Freed up from harassment, Tomatin disables the two bridge traps and the rest of the party finally kills the cornered kobolds. A magical necklace - made of humanoid teeth - and a magical pearl are recovered.
The door has been undisturbed for centuries, so the party risks a rest before cracking. Opening the door, the group is attacked by a Ghast but we survive valiantly. A magical cloak, ring, and grey rock are recovered.
We make it back to town and consult with Aunt von Cornswallow for payment, then check in with a local hedge wizard to identify loot. Willie Wiz-Zard the Wizard is talked into hiring us for a mission, as well as cutting us a deal on identify spells, by Tomatin. We are to ride into the Scar and bring important documents about the troubles in the South to the War College. We are given a Handy Haversack with 40 days worth of food for the trip.
All magic items are identified: +1 Necklace of Natural Armor, +1 Ring of Protection, +1 Cloak of Resistance, Pearl of Power I, and Dull Grey Ioun Stone.
Riding into the Scar, we happen across an abandoned dwarven settlement. Moving in to explore the town, we discover it has also been occupied by kobolds when we move into the stables and happen on a small group.
